Sunday, March 6, 2011

Italia!

So I've been baking my life away, thus the lack of posting. King Cake business has exploded and I've been experimenting on other baked goods: sugar cookies, cakes, buttercreams, chocolates, cake pops, the works. But I FINALLY decided it was time to cook an actual meal, something that has sadly fallen through the cracks in the past few months leaving me stranded with meals of cottage cheese, cereal, &/or baby carrots.

Inspired by Food Network magazine's Italian issue, Bingham's quarter Italian blood & my envie for some tomatoey Italian goodness, I thought I'd give it a go. I've really been itching to make some home-made gnocci or ravioli, but I've been pinched for time so that'll have to wait. Instead I chose to do Uova in Purgatorio aka eggs in purgatory (or eggs in red sauce), a peasant dish of Naples. The version I used is spiced up with some peppers & salami. Get it purgatory, almost in heaven, but seriously, its delicious.

Uova in Purgatorio
2 tbsp extra-virgin olive oil
2 cloves garlic, smashed
4 oz deli-sliced salami, roughly chopped
1 medium onion, thinly sliced
1 Italian green frying pepper, thinly sliced (Thanks food network, you really think this is at my neighborhood walmart....I just used a green bell pepper)
1 small yellow bell pepper, thinly sliced
1/2 tsp red pepper flakes (love it!)
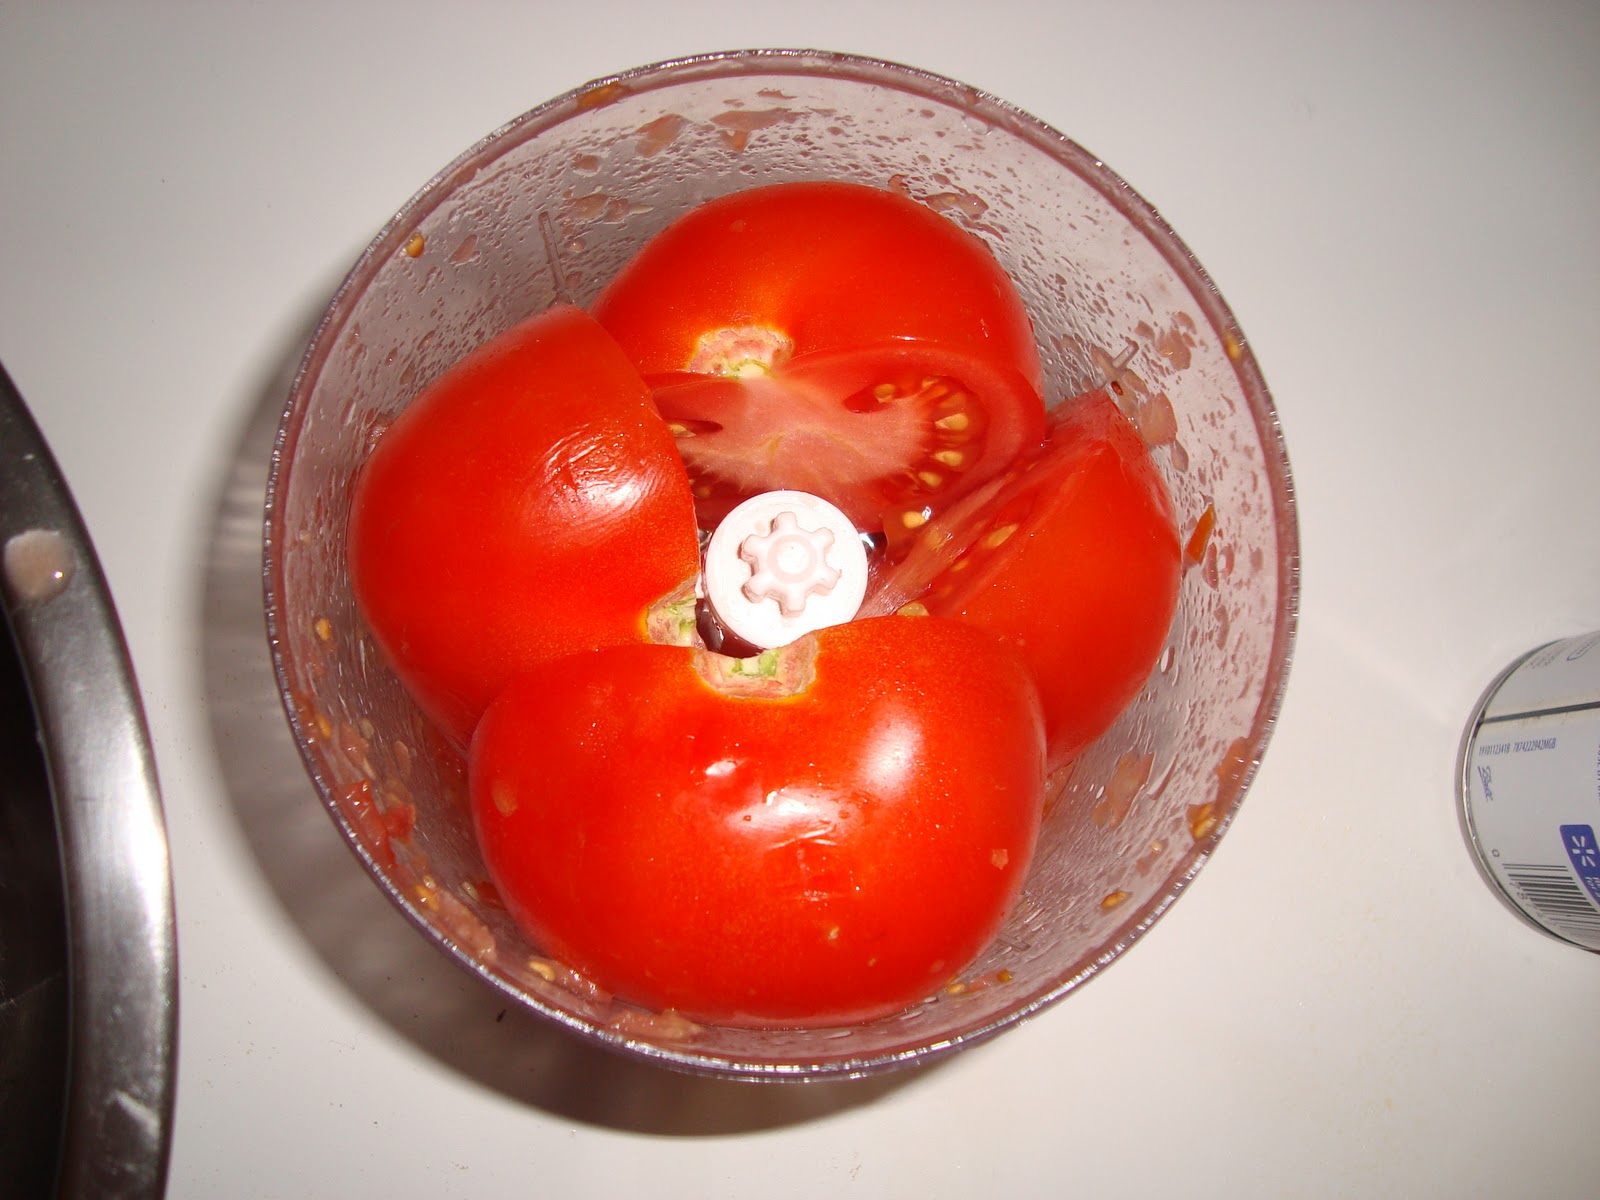
1 cup tomato puree (don't buy sauce!! just blend/process 2-3 small tomatoes, it's fresher & tastier)
1/4 c fresh parsley leaves
8 large eggs
2 tbsp grater pecorino romano or parmesan cheese
Crusty bread for serving (BUY BREAD! But excuse me ma'am, I'm a baker....I think I'll do it myself, hmph!)

Completed Crustiness
Crusty Garlic Bread
1 tbsp RapidRise Yeast
1/3 cup water
2 tsp sugar
3/4 c unbleached bread flour
2 cups warm water
1 tsp salt
2 cloves garlic, processed
6 cups unbleached bread flour (made the mistake of using bleached AP flour cause that's what I buy in bulk for my king cakes, but next time I'd use bread flour)
2 cloves garlic, processed (for brushing)
1/3 stick salted butter/margerine, softened (for brushing)

Heat 1/3 cup water to 120-130F (microwave on high for ~1 min). Mix 3/4 cup flour, sugar & salt in small bowl. Add heated water, form into a ball, & score ball with criss-cross cut. Float ball in standing mixer bowl  with 2 cups warm water for 5-10 min.


Using dough hook, add garlic puree & enough of the 6 cups of flour until dough cleans sides of bowl. I have learned that the amount of flour you need for bread can vary up to 1/2 cup depending on air temp., humidity, the type of shoes your wearing. I ere on the side of less flour, just enough to clean the slides of the bowl & create a little "tornado" with your standing mixer.


Now its time to knead the dough, but first....

Tips on Kneading:
1) Don't knead too soft & don't knead too hard. Too soft &you won't be doing anything, too hard & you will start tearing the dough which is not really great for gluten development
2) Dust with as little flour as possible. More flour = drier bread, so only dust your board with as much flour as necessary, sometimes I don't use any as long as the dough isn't sticking to my surface.
3) Dough is done when elastic, smooth &/or window panes.
Elastic = give it a little poke & it bounces back (not completely, but a good bit).
Smooth = literally feels like a babies butt, I'm always amazed at how smooth dough can get.
Window pane = take a small ball of the dough and pull it out between your fingers, you should be able to get it thin enough that when you hold it up to the light, some light comes through (this test didn't really work well for this dough, but it usually does especially for doughs that have some kind of fat in them)
Window paning - this was right when I took it out of the mixer, definately NOT ready

Elasticity "poke" check
See you can barely see the litte imprint from my poke....its done!
And it felt like a baby butt
Put kneaded dough in well greased bowl (I like to use shortening for all my greasing needs) & top with a greased butter wrapper or wax paper. Cover bowl tightly with Saran wrap & place in a warm/draft free place for 1 hour or until doubled. I like to prehead the oven to 150 for 5 min, turn it off, then put the covered dough in the warm oven.


Risen dough, make sure your oven rack is lower or the dough
will run into the broiler coils....which happened here
Punch down dough (This part is fun! but short-lived) & shape into 2 long loaves tapered at the ends. Score dough length ways down center of each loaf. Cover with Saran Wrap and let rise until doubled.


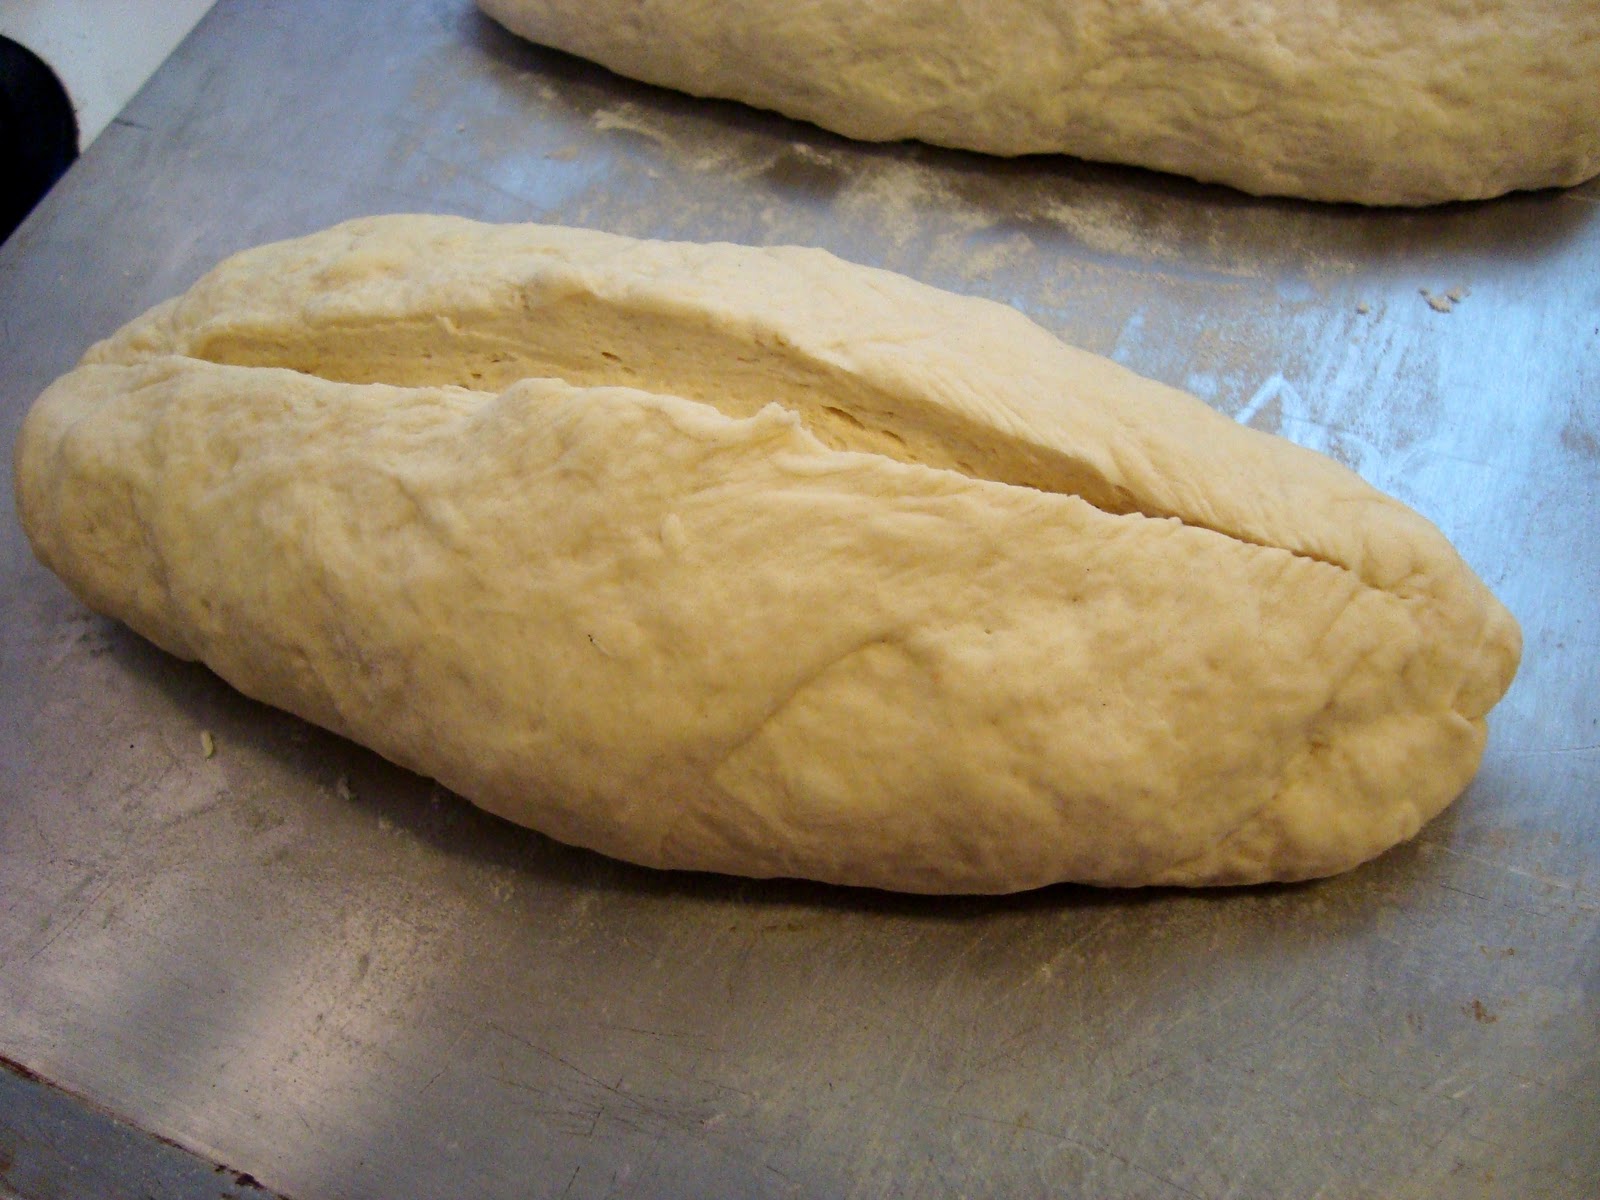
Formed loaf with score

Risen Loaves - I recommend spraying Saran with cooking spray first
 Bake at 400 for 10 min, then reduce heat and bake at 375 for about 30 min. Remove from oven & cool (leaving oven on). Combine soft butter with pureed garlic & brush onto cooled loaves. Return to oven for 5 min.


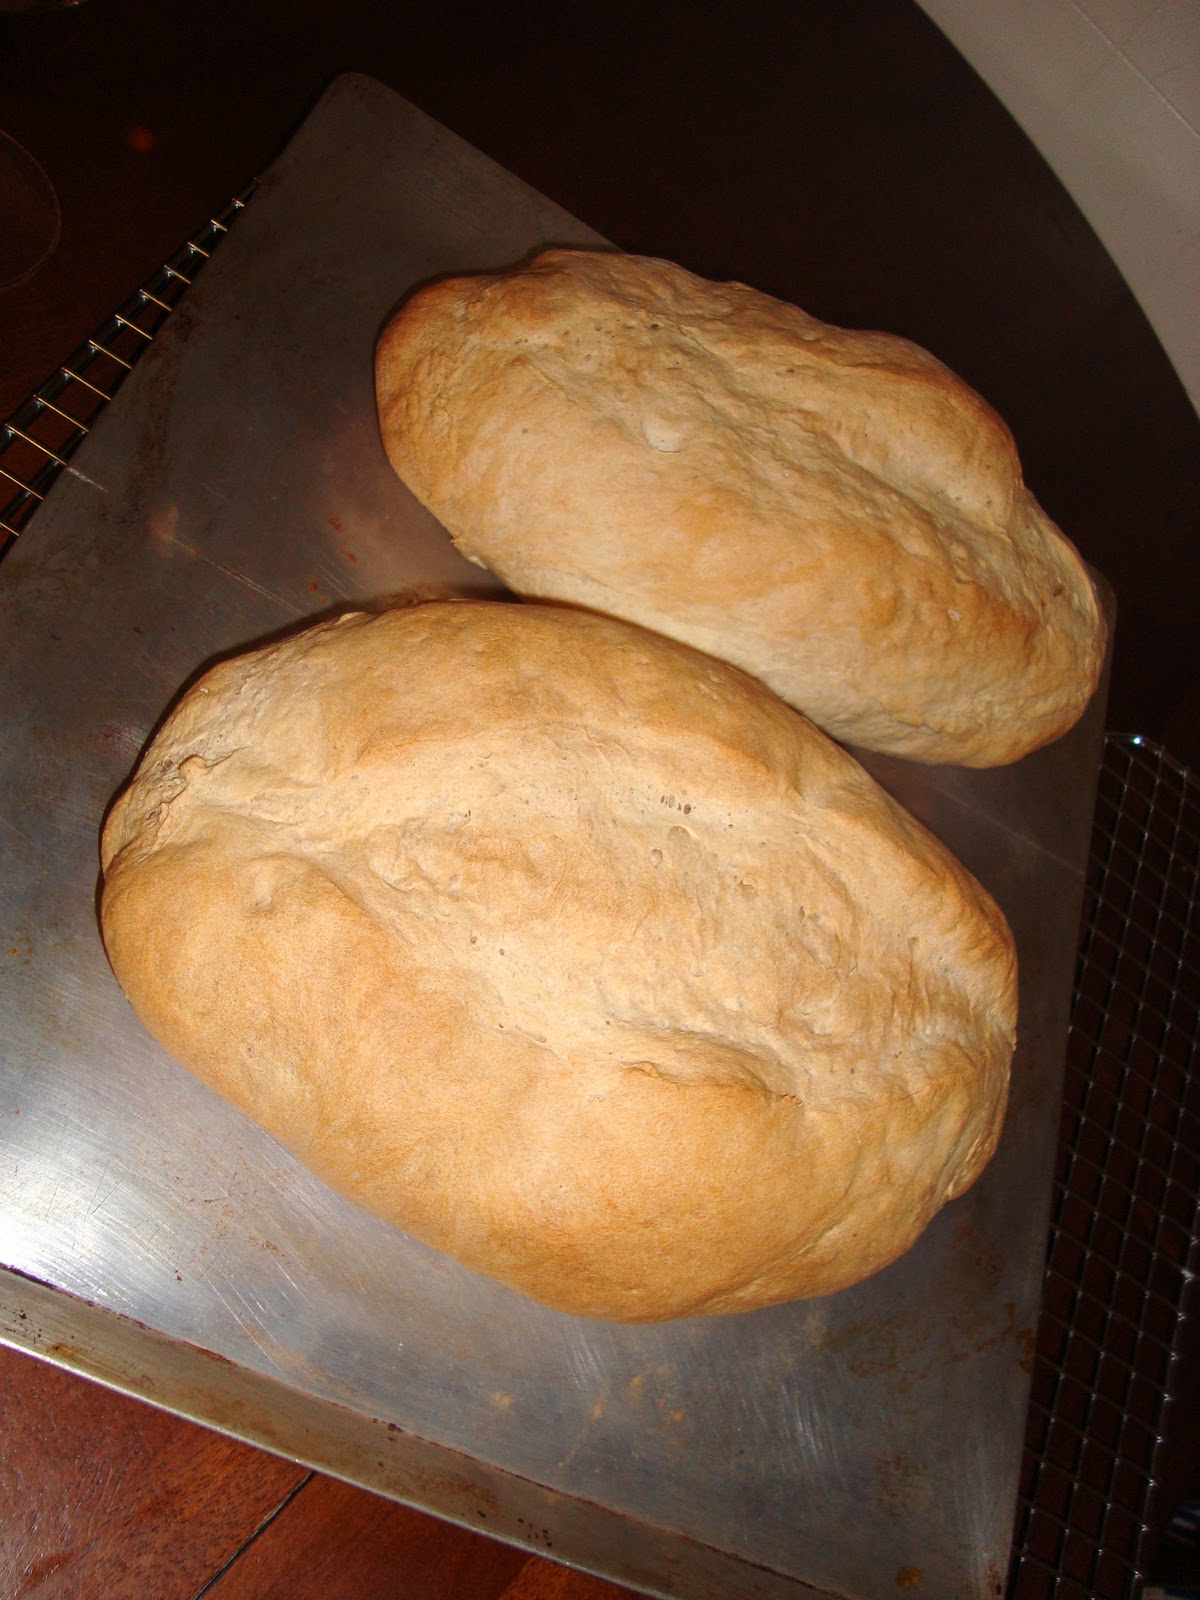
Before butter & garlic

After butter & garlic....talk about a make-over
When you're ready to serve, just slice bread & bake or broil until toasted (only a very short time with the broiler!! we almost burned ours). We added more butter & garlic on our slices too (a little over kill on the arteries). This would go awesome with any soup or sauce based dish but not really made to be eaten on its own.

Toasty!
As for the main event, a little simpler...ok alot simpler than the bread.

I love meals like this where I can do half the work, leave, come back & finish it in 15 min. I did all the prep work before hand, mostly just slicing.

Took some extra time to slice these evenly

All my ingredients ready to rumble
Fry up the smashed garlic in a pan with the olive oil (on med-high heat) until its golden brown then remove it. The recipe says to discard the garlic but Bingham though that was blasphemy, and so did I so we pureed it with the tomatoes.


Throw in the sliced peppers, onions, salami & red pepper flakes & turn up heat to high for about 5 min. Add tomatoe puree & cook until veggies are tender.


Turn off the heat, scatter the parsley in & make 4 "wells" in your sauce. Add 2 eggs to each well, sprinkle with grated cheese & cover pan until whites are set.


 I like my yolks runny but we over did them but it was still delish!! I'd definately make this again but probably without the salami (not really a figure friendly ingredient but adds a ton of flavor).


Serve with some wine & I think our eggs just made it to heaven :)

Chocolates & Cake Pops & Cookies, OH MY!

I've been hard at work with the gnomes up in my treehouse so here are some of my recent creations minus the king cakes, and the king cakes, and the shipped king cakes. Don't worry! I will give my king cakes a shout out soon as the season's over, I mean they're the bread winners, gotta show 'um some love.  

Round 1 Cake Pops - for my own birthday party
CAKE POPS
Left over cake or brownies (hopefully made from scratch)
Icing (preferable homemade buttercream - recipe to come later, I use cream cheese icing for the brownies but you get creative with anything - peanutbutter, sour cream, honey, etc.)
Chocolate
Parafin Wax (optional - but I'll tell you why)
Lolipop Sticks (found some at Walmart but I know they also have them at Hobby Lobby)

I did 2 round of cake pops. The first round I used left over yellow cake which was so moist I didn't even need to add icing to get them to form balls & left over brownies that were iced with cream cheese icing.

Sour cream crumb cake with Italian buttercream
 The second round, I used left over sour cream crumb cake with "gone-wry" Italian buttercream (a meringue-based buttercream). I messed up this buttercream a while back but the flavor was still amazing so I thought I'd salvage it here. After the balls were formed, I refrigerated them for 15 minutes & moved onto the chocolate.

My 1st round I went through the tedius task of "tempering" the chocolate. Now, I didn't do the traditionals heat it up, cool it down, heat it back up to 88 degrees (I don't have a infrared chocolate thermometer or a marble slab...gift idea?...so that was not an option). Instead I took a tip from Alton Brown (my food science hero) after watching his special on chocolate, tempering is all about the crystals. He says to just warm up the chocolate to 90-92 degrees before dipping and that should do the trick...but again I have no chocolate thermometer so I thought...
When they make sugar from sugar cane, they start off with a supersaturated soup and only need to add 1 sugar crystal for the whole thing to form solid cystals. With that knowledge, I tried my own chemistry-based technique (not really sure if chocolate experts would agree with me here but it seemed to work).

Method 1:
I melted the chocolate chips (flavor of your choice, I found dark overpowered my cake but went well with my brownies) in a double boiler until all was melted into a thin liquid (not worried about temp really). I figured out after a few tries that it was a good idea to dip the sticks in the chocolate then insert into the cake/brownie balls & let them dry before moving on to the next step.

When I was ready to dip, I removed the chocolate from the boiler & added 1 chocolate chip (seed crystals) then quickly mixed it in until it was melted. Then I dipped the cake pop in, I had to twirl & tilt it to get it all covered which is why having the sticks set was a good idea. Then I held the pop at an upward 45 degree angle with my left hand, and tapped my left hand gently with my right hand to get the excess chocolate to drip off. After one big drip comes off, I let them to cool.dry in a cardboard flat that I poked holes in with a wooden skewer. If you are going to top them with any sort of sprinkles, this would be the time.

The only pain with this method is that the chocolate will only stay thin for 2-3 pop dips, so you have to put it back on the boiler get it thin, add your seed chip & continue. Beats tempering though and you will get a shiny chocolate.

I'm thinking next time I will try keeping the chocolate on the double boiler the whole time and just continuing to add "seed chips" every 5 minutes or so.

Method 2
Even though method 1 was alot easier than tempering, its still a pain to keep reheating the chocolate BUT you can avoid this all together. For round 2, I just melted 1 bag of chocolate with 1/2 block of parrafin wax. What does parafin wax do you say? It's super shiny & thiner when its melted. Therefore you don't have to mess with the chocolate at all. Sacrifice = less crisp hardened chocoalte & less pungent flavor.

I also like to add a dash salt &/or nutmeg to my melted chocolate in both methods, it enhances the flavor of the chocolate so much but note that neither of these will dissolve in your chocoalte. You will be able to see the little grains, which I didn't really care about since my motto is flavor trumps looks.


Another good tip here for both methods is to use a crock pot as the bottom of your double boiler, the heat is low and more even than a pot on the stove.

However, you can avoid both methods 1 & 2 by buying candy wafer which come in varoius flavors and colors. These you can just melt and not worry about chocolate seizing at all....I bought some vanilla one's for future runs. The few extra dollars are worth my time :)

Yum!

CHOCOLATES

Russell Stover....psh I can do that.
I did my chocolates at the same time as rounds 1 & 2 of my cake pops using method 1 chocolate on my heart chocolates (which I used a heart shaped ice cube mold for) & method 2 chocolate on my "mini muffin tin" chocolates. But really, these were all about the fillings. I found method 1 worked best for the chocolate candies because chocoalte should snap when you eat a filled chocolate candy (this was missing with the parrafin).

For both types of chocolates, I filled the molds with chocolate and shimmied/shook the chocolate around to fill the mold on the top & sides. Make sure to get a thick layer of chocolate on all sides or you will pay the price when you try to remove them from the molds. Then I left them upside down for the excess chocolate to drip out. After about 5 min, I took my offset spatula and removed the excess from around edges of the molds & then put them in the freezer for abot 10 min.

NOW FOR THE FILLINGS!!
My favorite part. I did 4 different chocolate here:

1) Sunflower seed nuts + peanut butter: spruced up the peanut butter with confectioner's sugar, vanilla & salt.

 
2) Coconut whipped cream + sliced almonds: whipped up some heavy whipping cream & added sweatened canned coconut.
3) Strawberry + cream cheese: sorry yall, these are both left-overs from my secret king cake fillings, but i'll tell you they both involve liquor of some sort


4) Cookies-n-Cream: Bingham's favorite since I was making these for Valentine's day, just white chocolate with mashed Oreos


After filling, I covered the molds with more chocolate and levelled them off. Make sure not to over fill the chocolates or you won't be able to top with enough chocolate.

I found the cupcake molds to work better with removing. I just pushed a knife gently into the side & it popper out. The silicon heart molds were a little more fussy and I had to push them out from the back side....which mean't alot of them broke. For both cases, I recommend oiling the molds.

Just because some broke doesn't mean they aren't delicious!! So I salvaged them. The cookie-n-cream ones didn't break though (we just cut them to taste)... solid chocolates are much easier.
 
Bingham's Valentines Chocolates - we got our finger prints all over um
  
Mended Broken Heart!!

Cupcake tin chocoaltes - much less breakage

COOKIES 
Royal Icing
 I use butter cookies instead of sugar cookies for my decorated cookies. I've gotten alot of good feedback with them. You just have to be careful & make sure your cookies are thick because butter cookies will break more easily. I usually do 1/4-1/2 inch thick depending on the cookie shape.

I've tried a couple of recipes for the icing. My top 2 were Royal icing which uses egg whites & corn syrup based one from I Am Baker. Here's my reviews on the 2:

Royal Icing
Dries quickly
Less forgiving
(because it dries quicker)
Subtle sweet flavor

Phi Mu Cookie w/ Royal Icing

I Am Baker Icing
Dries REALLY slow
(3+ hours, I found it goes a little quicker in the fridge)
Really forgiving
(you can basically remove half of what you've done and start over)
Pungently sweet
Phi Mu Cookie w/Other Icing

5th Birthday Cookies
 For both types of icing, you need to vary the thickness. For flooding, add more milk/liquid. For writing/details, add less milk or more powdered sugar.

I think I'm going to stick with the royal icing. Its easier to work with if your fast.

These Star Wars character were kind of fun but time consuming. I put them on skewers becase they served as cake toppers. I used royal icing on these.


CP3O, Yoda, R2D2, Luke & an Ewok...the whole crew!
  I've come a long way from my first attempt at sugar cookies.....man these are odious. Didn't know about the whole diluting the icing thing.

Amateur LSU Cookies